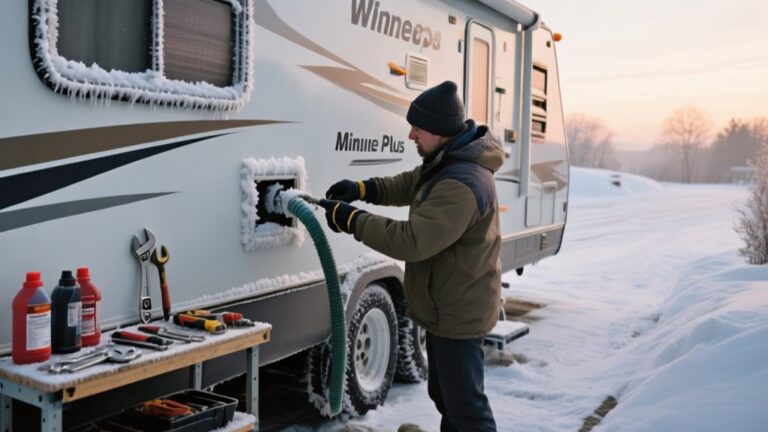
How To Drain Good Water From A Winnebago – Quick Tips
To drain good water from your Winnebago, first locate and access the fresh water tank drain valve. It’s usually near the RV frame or kitchen area. Make sure your vehicle is level or slightly tilted to help gravity do its job and drain completely.
Next, turn off the water pump and heater. Open all the faucets to let air in, then open the drain valve fully. Let the water flow out completely before closing the valve securely.
To keep bugs out during storage, cap the drain. When it’s time to sanitize, flush and inspect your system properly. You’ll find more detailed steps ahead.
Locating and Accessing Your Winnebago’s Fresh Water Tank Drain
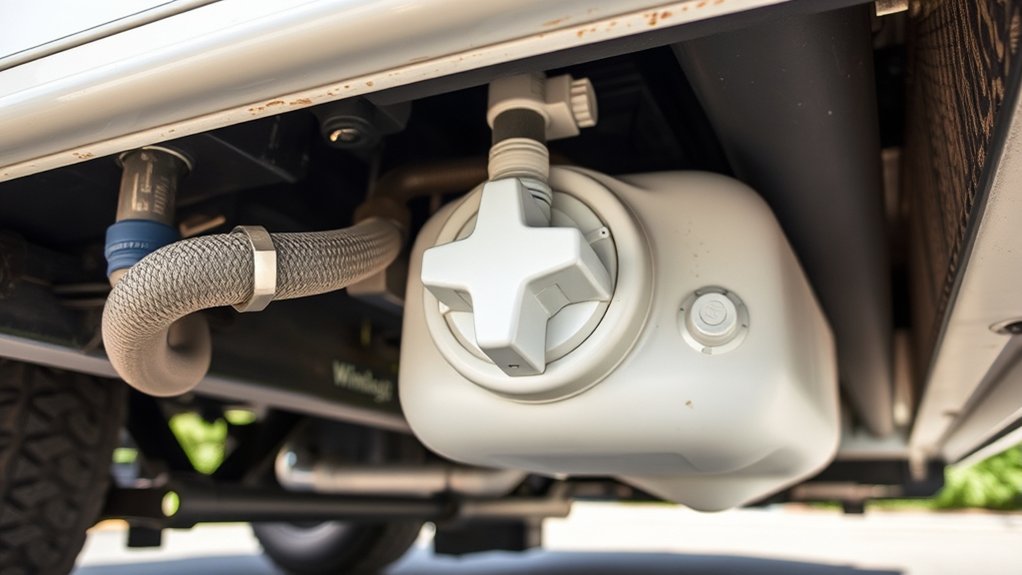
Before you begin draining your Winnebago’s fresh water tank, you need to locate the drain valve or tube. This is usually found underneath the vehicle or inside an access panel. Check near the bottom of the RV frame or under areas like the kitchen or bathroom.
Some models have a petcock valve or quick-connect fitting that you can open by hand or with a wrench. If you don’t see the valve immediately, consult your owner’s manual for exact placement. You might need to remove interior or basement storage panels to access the drain.
Position your RV on a level surface for easier access, as the drain is at the tank’s lowest point. This makes sure the water flows out completely and safely. It’s a simple step but really helps avoid any leftover water in the tank.
Step-by-Step Draining Your Fresh Water Tank
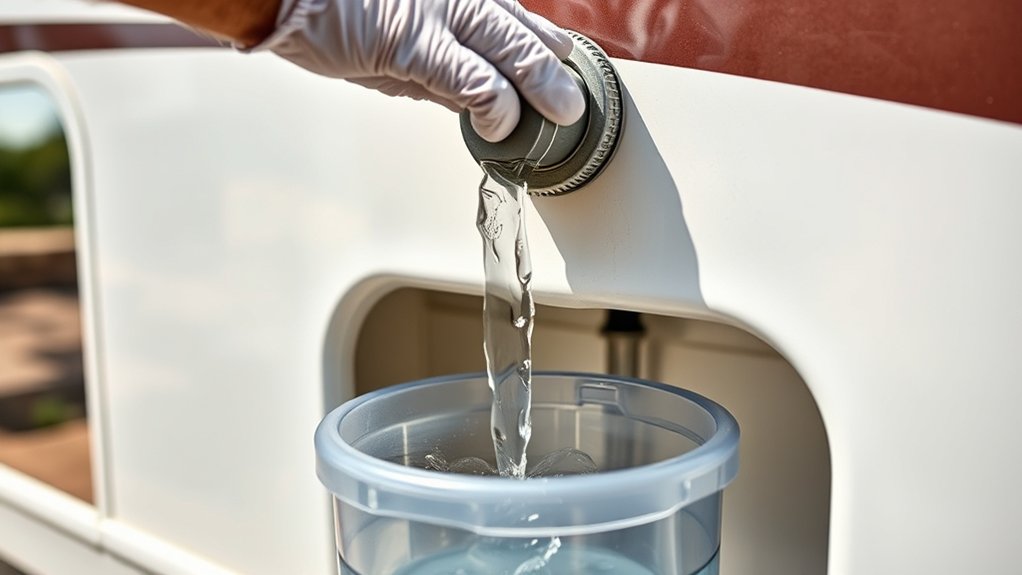
Before you start draining, make sure to turn off the water pump, heater, and supply to prevent any damage. It’s a good idea to open all the faucets and the toilet too. This lets air in, which helps the water flow out completely.
Once you’ve drained the tank, take a moment to inspect it for any cracks or leaks.
If needed, give the tank a good flush before you refill it. This way, everything stays clean and in good working order.
Preparing The Drain Process
How do you guarantee your Winnebago’s fresh water tank drains completely and safely? Start by turning off the water pump, heater, and main water supply. Then open all faucets and the toilet to let air in, which helps water flow out efficiently.
Next, locate and open the low-point drain valves or caps to release the water. You can use the water pump to speed up draining, but be sure to turn it off once the flow slows. After draining, visually inspect the tank for any cracks or leaks.
| Step | Action | Purpose |
|---|---|---|
| 1. Power Off | Turn off pump, heater, supply | Prevent damage, ensure safety |
| 2. Open Faucets | Open all faucets & toilet | Allow air intake for drainage |
| 3. Drain Valves | Open low-point drain valves | Release water from tank |
| 4. Use Pump (Optional) | Use pump to speed draining | Expedite process |
Flushing And Inspection Steps
Once you’ve drained your Winnebago’s fresh water tank, it’s vital to flush the system thoroughly to remove any remaining debris and odors. Start by turning off the water pump, heater, and main water supply.
Open all faucets and the toilet to allow air in and guarantee complete drainage.
Next, locate and open the low-point drain valves or caps. You might need some tools for this part. Briefly turn on the water pump during drainage to help expel any leftover water.
After fully draining, close all valves and faucets, then refill the tank with clean water.
Run all faucets and the toilet again to flush out any remaining contaminants.
Finally, inspect the system for leaks or damaged components before sealing everything back up.
This will make sure your fresh water system is clean and ready for use.
How Tilting Your Winnebago Helps Drain More Water
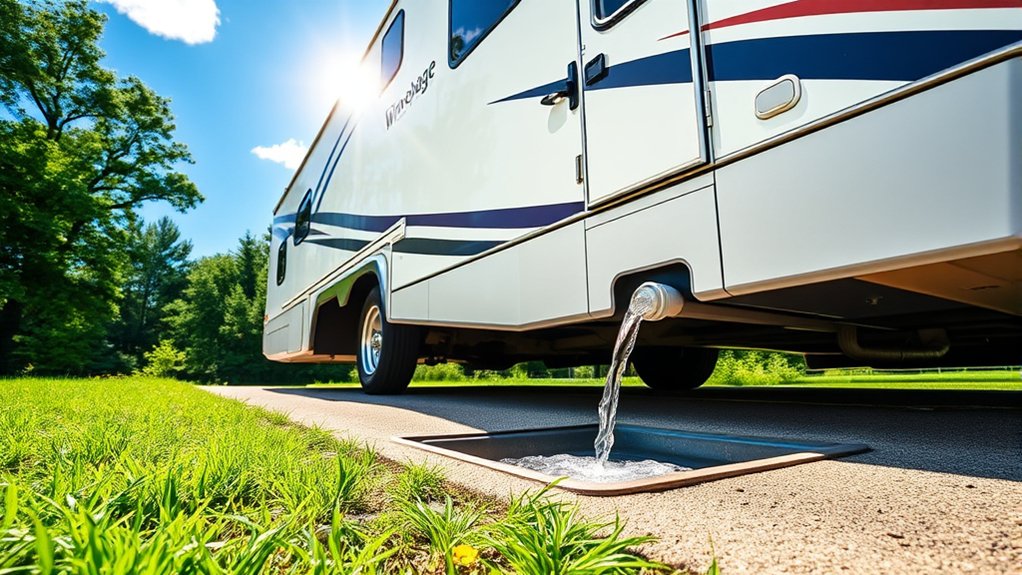
Tilting your Winnebago toward the drain basically uses gravity to help push more water out. This means less leftover water hanging around in the tank.
You can position the vehicle at a slight angle by using wedges or blocks. This helps ensure the water flows efficiently toward the drain valve.
It’s all about finding the right tilt angle that gets the most drainage without making your RV unstable or unsafe while you’re doing it.
Benefits Of Tilting
Why does angling your Winnebago make such a difference in draining water? Tilting helps gravity direct water toward the drain valve, reducing residual water inside the tank. By elevating either the front or rear, you guarantee the tank’s lowest point aligns precisely with the drain, maximizing water removal.
This simple adjustment minimizes standing water, which lessens the risk of freezing and bacterial growth. It keeps your system cleaner and safer.
Key benefits include:
- More efficient water flow toward the drain valve, leaving less behind
- Reduced chance of freeze damage by eliminating trapped water
- Improved sanitation by minimizing bacterial growth in stagnant water
Even a slight tilt can considerably improve drainage performance. It makes your water system easier to maintain and protects it from damage.
Effective Drainage Angles
How much difference can a slight angle make when draining your Winnebago? Tilting it just 10-15 degrees greatly improves water flow toward the drain outlet, reducing leftover water.
Position your RV with either the front or rear raised, using gravity to pull residual water out effectively.
Place wedges or leveling blocks under the wheels on one side to create this ideal tilt. Always make sure the drain valve is fully open during this process. This lets gravity help flush the tank completely.
By controlling the angle precisely, you minimize trapped water, preventing stagnation and potential damage. This method is simple but really important for efficient drainage.
It keeps your Winnebago’s water system clean and functional with minimal effort.
Leaving the Fresh Water Tank Drain Valve Open to Prevent Freezing
Since water expands when it freezes, leaving the fresh water tank drain valve open is essential to prevent damage during winter storage.
By opening the drain valve, you allow residual water to escape, minimizing the risk of ice buildup and pressure inside the tank.
This simple step helps avoid cracks and structural damage caused by frozen water.
Plus, an open valve vents moisture, which reduces humidity and the chance of mold growth.
Key benefits include:
- Preventing ice expansion from exerting pressure on tank walls
- Allowing nearly all water to drain, protecting the tank integrity
- Venting moisture to lower mold and bacterial risks
Just make sure to double-check that the drain valve is fully open before storage.
That way, you’ll effectively safeguard your Winnebago’s fresh water system.
Preventing Bugs and Debris From Entering the Fresh Water Tank Drain
After ensuring the fresh water tank drain valve is open to prevent freezing, you’ll want to protect the opening from bugs and debris. Install a fine mesh screen or bug barrier over the drain to block insects and particles. When not draining, keep the valve closed to minimize pest entry.
Open the drain valve to prevent freezing, then cover with a fine mesh screen to keep out bugs and debris.
Applying a small amount of petroleum jelly or insect repellent around the drain perimeter can further deter bugs. Regularly clean the drain area to remove dirt and organic matter that attract pests.
During storage, cover the drain with a temporary cap or plug to seal off entry points.
These steps help maintain water quality by preventing contamination and avoid costly maintenance caused by insects or debris inside your fresh water tank. It’s a simple way to keep everything running smoothly and your water fresh.
Sanitizing and Refilling Your Fresh Water Tank
Before refilling your Winnebago’s fresh water tank, you’ll need to sanitize it thoroughly to guarantee safe, clean water.
Add 1/4 cup of household bleach per 15 gallons of water, then let it sit for 8-12 hours.
Afterward, flush the tank completely to remove all bleach and avoid unpleasant taste or odor.
Alternatively, you can use a 1:1 vinegar and water solution for mild cleaning.
Remember to drain any sanitizing solution fully before refilling.
Rinse the tank multiple times to eliminate chemical residues.
Also, inspect the tank and plumbing for leaks or damage before refilling.
Following these steps assures your fresh water system remains safe, reliable, and free of contaminants after draining and cleaning.
Inspecting and Maintaining Your Fresh Water Tank After Draining
Once you’ve drained your Winnebago’s fresh water tank, take some time to inspect its interior. Look for any cracks, leaks, or debris that could mess with your water quality. It’s important to catch these issues early to keep everything running smoothly.
Next, sanitize the tank using a bleach solution, then make sure to flush it thoroughly. Don’t forget to check all the fittings, valves, and seals. You want to spot any wear or damage so you can avoid leaks down the line.
Also, double-check that the drain line and valve are clear and sealed properly. This helps prevent any contamination from sneaking in. To keep things in good shape, schedule regular inspections. It’s a simple way to maintain water quality and extend the life of your system.
| Component | Inspection Checklist |
|---|---|
| Tank Interior | Check for cracks, leaks, debris |
| Sanitization | Use bleach solution; flush well |
| Fittings/Seals | Look for wear, damage |
| Drain Line/Valve | Ensure clear, properly sealed |
| Maintenance | Schedule regular cleaning/inspections |
Frequently Asked Questions
How Often Should I Drain My Winnebago’s Fresh Water Tank?
You should drain your Winnebago’s fresh water tank every two weeks during regular use, and monthly on extended trips. Always make sure to drain it before long-term storage or inactivity.
This helps prevent bacterial growth, unpleasant odors, and freezing damage. Keeping up with this routine will keep your water fresh and safe to use. It’s a simple step that can save you a lot of trouble down the road.
Can I Use Hot Water to Help Drain the Tank Faster?
You can use hot water to speed up draining, increasing flow rate by up to 30%. Just turn off the heater first and avoid overheating plastic tanks to prevent warping or damage during the process.
It’s a simple trick that makes draining quicker. Just be careful with the temperature so nothing gets damaged. This way, you get the job done faster without any hassle.
What Tools Do I Need to Open the Drain Valve Safely?
You’ll need a wrench or pliers to loosen the drain valve, gloves to protect your hands, and a flashlight for visibility. Keep a bucket nearby to catch water, and have a spare valve tool ready in case of damage.
It’s always good to be prepared, right? Having these tools on hand makes the whole process a lot smoother and safer.
Is It Necessary to Flush the Tank After Draining?
Yes, you should flush the tank after draining. Studies show flushing reduces bacteria by up to 90%, which means cleaner water. It also helps prevent mold growth and removes any leftover chemicals.
This simple step keeps your water quality high and protects your system’s longevity. So, flushing isn’t just a good idea—it’s an important part of maintenance.
How Do I Know if the Tank Has Been Fully Drained?
You’ll know the tank’s fully drained when no water flows from the faucet after opening it. The drain valve should be fully open with no moisture or pooling around it.
Also, check the inspection ports. If you don’t see any residual water inside, you’re all set.
Conclusion
Draining your Winnebago’s fresh water tank is essential for maintenance and water quality. By following these steps, like locating the drain, tilting the vehicle, and leaving the valve open, you guarantee thorough drainage and prevent freezing damage.
Don’t forget to protect the drain from bugs and sanitize the tank before refilling. After all, wouldn’t you want your water supply to stay clean and safe every time you hit the road?
Regular upkeep keeps your system running smoothly. It’s really worth the effort to keep everything in top shape!