How To De Winterize A Winnebago View – Easy Steps
To de-winterize your Winnebago View, start by inspecting all water lines, seals, and the pump for damage or leaks.
Fill the freshwater tank with clean water and add bleach for sanitation. Then pressurize the system by running the water pump and opening all faucets until antifreeze clears.
Slowly fill the water heater, checking for air pockets and leaks. Finally, verify pump operation and sealing integrity to guarantee a safe water system.
Keep following for detailed, step-by-step guidance.
Get Your Winnebago View Ready for De-Winterizing
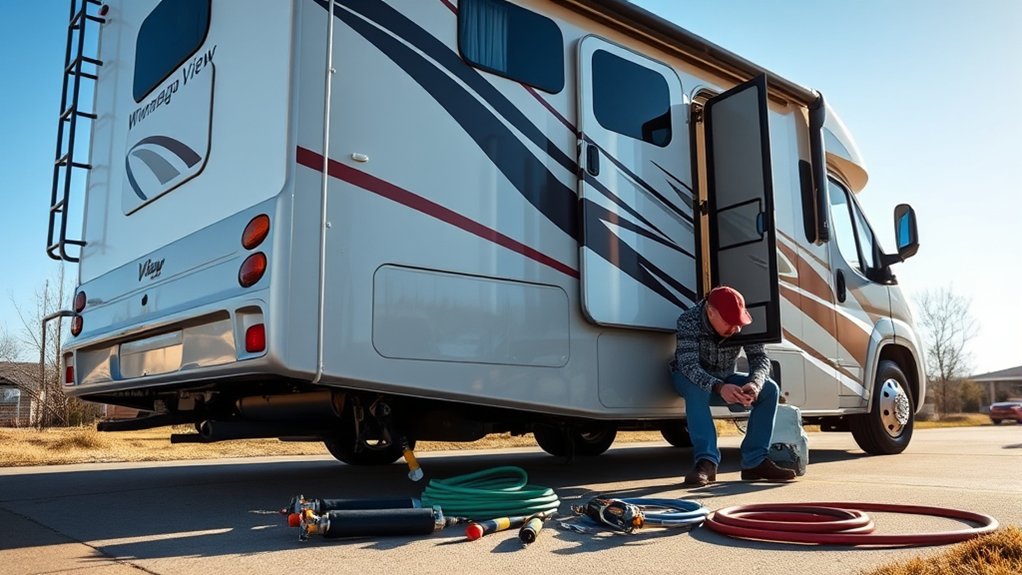
Before you begin de-winterizing your Winnebago View, thoroughly inspect all water lines, valves, and the water heater to confirm they’re properly drained and free of antifreeze residue. Make certain the freshwater tank is filled with clean water and all drain valves are securely closed.
Ensure all water lines and valves are drained and antifreeze-free before filling the freshwater tank securely.
Next, flush every fixture with fresh water to remove any antifreeze remnants completely. Check the water pump’s operation and open faucets to verify steady water flow, eliminating any airlocks or blockages in the plumbing.
Adhere strictly to your Winnebago View’s manufacturer guidelines for reconnecting and testing plumbing components. This careful preparation guarantees that your system is free of contaminants and ready for safe, efficient use.
It also helps prevent damage and ensures peak performance as you proceed with reactivating your freshwater system.
Fill and Pressurize the Winnebago View Freshwater Tank
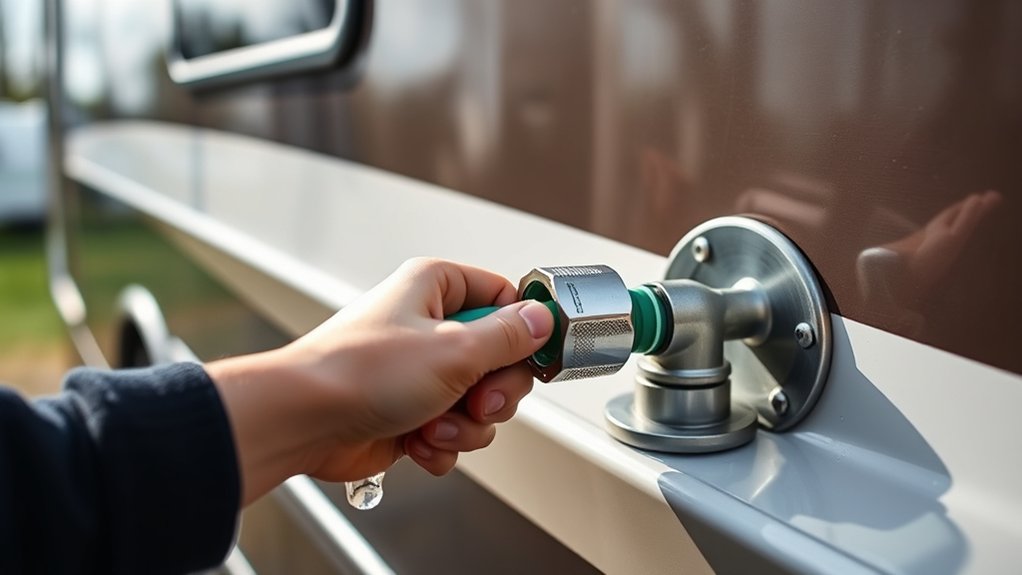
Once you’ve confirmed the plumbing system is clear, fill the Winnebago View’s freshwater tank completely with clean water to prepare for pressurization.
Open all faucets, including hot and cold lines, to allow water to flow through the entire system.
Turn on the water pump to pressurize the plumbing, guaranteeing water moves from the tank to every fixture.
Next, verify the water heater is full by opening its drain valve. Once steady water flows, close the valve to prevent air pockets.
For sanitation, add about 1/4 cup of household bleach per 15 gallons of water in the freshwater tank.
This step helps disinfect the system before you flush out any remaining antifreeze.
Maintaining proper pressure and sanitation now ensures clean, safe water throughout your Winnebago’s plumbing.
Flush Out Antifreeze From the Water System

To thoroughly flush out the antifreeze from your Winnebago View’s water system, start by opening all faucets and fixtures until you see clear water flowing.
Next, fill the freshwater tank and activate the pump to circulate clean water through every line.
Be sure to open the hot water heater drain valve to remove any antifreeze trapped inside the tank.
Connect a garden hose to the city water supply and run water through the entire plumbing system, ensuring all lines receive a thorough rinse.
Keep flushing until the water running from every faucet is completely free of antifreeze taste or color.
This process guarantees that residual antifreeze is fully removed, protecting your plumbing and ensuring safe, clean water for use.
Fill the Winnebago View Water Heater Before Use
First, open the water heater valve to let air escape while you slowly fill the tank. This helps prevent any pressure buildup.
As you’re filling it, keep an eye on all the fittings and connections to make sure there aren’t any leaks.
Once the tank is full and you’ve confirmed there are no leaks, you’re good to go and can move on to the next steps safely.
Open Water Heater Valve
Before powering on the water heater, you’ll need to open the drain valve to let the tank fill completely with water. Start by checking that the water heater bypass valve is set correctly to allow water flow into the tank.
Then, turn on the water pump and open the hot water faucets to get the air out and let the tank fill smoothly.
Keep those faucets open until you see a steady stream of water without any air bubbles—that means the tank is full. Don’t power up the heater before the tank is completely filled, or you could damage it.
Once the tank is full, take a careful look around the water heater valve for any leaks. When you’re sure everything is tight, close the drain valve securely.
This way, the system is sealed and ready for safe operation when you turn on the heater.
Fill Heater Slowly
How slowly should you fill the Winnebago View water heater to guarantee safe operation? You need to fill it gradually to prevent pressure buildup and guarantee thorough filling.
Begin by confirming the water heater drain valve is fully closed to avoid leaks during filling.
Next, open the hot water faucet and let water flow steadily. This helps you monitor for air pockets or leaks inside the system.
Fill the heater until water flows consistently from the relief valve or hot water tap. This indicates the tank is full and pressurized.
Try not to turn the heater on immediately. Wait until the system is completely pressurized and free of trapped air to avoid damage.
Filling slowly ensures safe, efficient operation and helps prolong your water heater’s lifespan.
Check For Leaks
Once you’ve filled the water heater, you need to carefully check for leaks to avoid damage and guarantee system integrity. Start by inspecting all fittings and connections around the water heater with a flashlight. Look for any signs of drips, moisture, or corrosion that might indicate a compromised seal.
Next, turn on the hot water faucets and confirm continuous flow. This verifies the heater is properly filled and operational. After running the water for a few minutes, shut off the faucets and wait 10 to 15 minutes.
Then, re-examine all connection points for any emerging leaks caused by pressure changes. If you notice any leaks, address them immediately. This helps prevent water damage and keeps your Winnebago View’s water system running efficiently before regular use.
Run the Winnebago View Water Pump and Check Faucets
Although it might seem straightforward, running the Winnebago View water pump and checking the faucets requires careful attention to guarantee proper operation.
First, turn on the water pump and listen for engagement. If it doesn’t start, inspect electrical connections and power supply.
Next, open all faucets, both hot and cold, to allow trapped air to escape and confirm steady water flow.
Beforehand, verify water heater bypass valves are correctly positioned to enable proper water circulation and pump priming.
While the pump runs, inspect and clean the pump filter and filter cap seals to prevent blockages that could impair function.
This step assures the water system operates efficiently and prepares you for the next phase of winterization reversal without unexpected issues.
Purge Air Pockets to Stop Faucet Sputtering
Because air trapped in your plumbing can cause faucet sputtering and pressure fluctuations, you need to purge all air pockets thoroughly. Start by opening every faucet and fixture, running water slowly until the flow steadies. This clears sputtering caused by trapped air.
Trapped air causes sputtering and pressure issues—open all faucets and run water slowly until steady flow is achieved.
To improve air removal and priming, consider reversing the inlet cone washer on the water pump. Run the pump with all faucets open, allowing trapped air to escape.
Focus on bleeding both high and low points in the system to expel residual air.
Regularly check and release trapped air in supply lines after de-winterizing to maintain smooth water flow and prevent sputtering.
- Open all faucets and fixtures fully
- Run water slowly until flow is steady
- Reverse inlet cone washer on pump if needed
- Bleed plumbing high and low points
- Routinely check supply lines for trapped air
Inspect Winnebago View Water Pump and Filter for Problems
Start by checking your Winnebago View’s water pump for any leaks, cracks, or damaged fittings that might affect how it works. Once you’ve done that, go ahead and remove the filter to give it a good cleaning.
While you’re at it, take a close look at the seals and the filter cap to see if there’s any wear or if they’re not sitting quite right, as this can cause leaks.
Finally, make sure the inlet cone washer is in the right spot and double-check that all the electrical connections are secure.
Doing all this will help keep the water flowing smoothly and the pump running properly.
Water Pump Function Check
When inspecting the Winnebago View water pump, listen carefully for continuous running or cycling sounds. These often indicate airlocks or electrical issues that can impair performance.
To assure proper pump operation, follow these steps:
Check the pump and filter housing for leaks, cracks, or blockages that reduce water pressure. Also, inspect the filter cap seals for cracks, debris, or improper seating that might affect priming. Don’t forget to verify the inlet cone washer orientation; reversing it can help eliminate air pockets.
Make sure all electrical connections are secure and free of corrosion. If needed, test the power supply with a multimeter.
Listen closely for any unusual pump noise patterns as they might point to mechanical or electrical faults.
Performing this function check helps you catch issues early. This way, you can ensure reliable water flow and avoid costly repairs down the line.
Filter Cleaning Procedure
Although you’ve already checked the water pump’s function, it’s essential to closely inspect and clean the filter during de-winterization. This helps prevent debris buildup and guarantees peak water flow.
Start by examining the filter housing for cracks or leaks. Make sure the cone faces outward for correct priming. Remove the filter screen and check for blockages or damage.
Clean the filter screen with fresh water and mild detergent. Then, reinstall it carefully, tightening all fittings to avoid leaks. Confirm the inlet cone washer faces outward to maintain check valve integrity and prevent airlocks.
| Step | Key Action |
|---|---|
| Inspect Housing | Check for cracks, leaks, orientation |
| Remove Filter Screen | Look for blockages, damage |
| Clean Filter Screen | Use fresh water, mild detergent |
| Reinstall & Secure | Tighten fittings, confirm washer position |
Seal Inspection Tips
After cleaning and reinstalling the filter, turn your attention to inspecting the seals around the water pump and filter assembly. This step guarantees proper function and prevents leaks or priming issues.
Make sure to thoroughly check the water pump housing and fittings for cracks, corrosion, or leaks.
Take a close look at the filter and filter cap seals for any wear or damage that could disrupt water flow. Confirm the filter housing’s cone washer faces outward for correct sealing and priming.
Look for any air leaks around pump and filter connections that might cause sputtering.
Verify all seals are intact, properly seated, and free of cracks. Tighten all fittings securely to prevent water loss. Replace any faulty seals or filters before final assembly.
Following these inspection tips helps maintain your Winnebago View’s water system reliability after winter storage. It’s a simple routine that can save you from bigger headaches down the road.
Inspect Winnebago View Plumbing Connections for Leaks
Before you fully resume using your Winnebago View’s water system, inspect all visible plumbing connections, fittings, and joints for leaks or drips. Start by wiping each connection with a paper towel or cloth to detect moisture. Tighten any loose fittings or clamps to restore a secure seal and prevent leaks.
Pay close attention to the water pump area and filter housing. Look for cracks, corrosion, or dampness that could indicate leaks. Also, examine the water heater, low point drains, and bypass valves thoroughly for signs of water intrusion.
This detailed inspection helps identify vulnerabilities that might cause water damage or system failure once you restart the water system. Addressing these issues now ensures your plumbing remains reliable and leak-free throughout your travels.
Test Winnebago View Water Pump Operation and System Readiness
Once you’ve inspected for leaks, turn on the water pump and listen carefully to confirm it engages within a few seconds. This guarantees the pump’s electrical and mechanical components function properly after de-winterizing.
Next, verify water flow from all faucets, confirming the pump delivers water consistently. Pay close attention to the pump’s cycling; it should operate smoothly without running continuously or sputtering.
Also, watch for air bubbles or unusual noises, as these indicate trapped air or blockages.
Finally, assess system pressure buildup either with a gauge or by sound to ensure the system pressurizes correctly.
Confirm pump activation within seconds
Check consistent water flow from faucets
Observe smooth cycling without continuous running
Detect air bubbles or sputtering sounds
Verify proper pressure buildup or gauge reading
Frequently Asked Questions
How Often Should I De-Winterize My Winnebago View?
You should de-winterize your Winnebago View annually before camping season. If you face frequent temperature changes or unexpected warm spells, do it more often.
In mild winters, every 1-2 years with regular inspections works well. Just keep an eye on things, and you’ll be good to go!
Can I Use Regular Tap Water Instead of Rv-Specific Water?
If you’ve ever flushed your RV with tap water, you know it works fine. Just flush thoroughly to clear antifreeze.
If your tap water’s hard, run distilled afterward to avoid mineral buildup. This helps keep your system safe and running smoothly.
What Antifreeze Type Is Safe for My Winnebago’s Plumbing?
You should use propylene glycol-based RV antifreeze labeled “RV/Marine Grade” or “Food Grade.” Avoid automotive antifreeze because it’s toxic and can damage your plumbing.
Always check the container for potable water certification. This ensures the antifreeze is safe for your Winnebago’s plumbing system.
Taking these steps helps protect your RV and keeps your water system safe and clean.
How Long Does the De-Winterizing Process Usually Take?
You’ll spend 2 to 4 hours flushing, refilling, and sanitizing your water system. You’ll inspect filters, troubleshoot issues, and clean components.
Professionals might finish quicker, but expect up to half a day for thorough checks and repairs.
It’s a bit of work, but taking your time ensures everything runs smoothly once you’re back in action.
Should I Check the Battery Before Starting the Water Pump?
Yes, you should check the battery before starting the water pump. Make sure it’s fully charged, around 12.6 volts, using a multimeter. This helps prevent pump failures caused by insufficient power.
It also avoids intermittent operation during de-winterizing. Taking a moment to check the battery can save you from headaches later. So, don’t skip this simple step!
Conclusion
De-winterizing your Winnebago View might seem intimidating, but following these precise steps guarantees a leak-free, fully operational water system ready for your next adventure. Skipping this process risks damaging your plumbing and water pump, which can be costly to repair.
By flushing antifreeze, pressurizing tanks, and inspecting connections carefully, you protect your investment and avoid surprises on the road. Stay thorough. Your Winnebago’s performance depends on it.